 Rafael
In this post, I’ll show you how to set up a Docker Swarm cluster on Hetzner and deploy a Rails app to it. We will be setting up two hosts, one for the web server acting as manager and another for the database acting as worker.
First, let’s create a new Rails app and prepare the database:
$ rails new swarm-demo -a propshaft -d postgresql -c tailwind
$ rails db:prepare
You should now be able to run the app locally with bin/dev and see the welcome page.
Just so we can test our database connection and data persistency in the swarm, let’s scaffold a simple Post resource and set the index action as the root route:
$ rails g scaffold Post title:string
$ rails db:migrate
# config/routes.rb
root "posts#index"
Provisioning the servers on Hetzner
We could do this through the Hetzner Cloud Console but we will use the hcloud CLI.
First, you need to create an account on Hetzner, create
a project, and generate an API token
(with read and write permissions). Then, install the hcloud CLI
with brew install hcloud on macOS.
Once you have the token, you can authenticate with the CLI by creating a context:
$ hcloud context create swarm-hetzner
You will be prompted to enter the API token and the context will be created. Now, you can start provisioning the two servers.
In order for us to be able to SSH into the servers, we need to create an SSH key in our local machine and then associate it with Hetzner so we can use it when creating the servers:
For this example, I will create a new SSH key called
id_rsa_personalwithout a passphrase.
$ ssh-keygen -f ~/.ssh/id_rsa_personal
$ hcloud ssh-key create --name personal-key --public-key-from-file ~/.ssh/id_rsa_personal.pub
You can list the SSH keys associated with Hetzner to make sure it was added successfully:
$ hcloud ssh-key list

ID         NAME           FINGERPRINT                                       AGE
19362876   personal-key   cf:0b:89:00:00:5f:7d:e5:93:c8:17:16:68:64:38:b3   55s
Now, we can create the two servers. We will use the cx11 type for both, which is the cheapest
one. You can choose a different type if you want:
$ hcloud server create --name app-manager --type cx11 --image docker-ce --ssh-key 19362876
$ hcloud server create --name db-worker --type cx11 --image docker-ce --ssh-key 19362876
You should see the servers listed when you run hcloud server list:
$ hcloud server list

ID         NAME          STATUS    IPV4             IPV6                      PRIVATE NET   DATACENTER   AGE
43107995   app-manager   running   37.27.34.249     2a01:4f9:c012:8df4::/64   -             hel1-dc2     4m
43108038   db-worker     running   95.217.128.149   2a01:4f9:c011:94ac::/64   -             hel1-dc2     1m
Optionally, you can go on and add a new entry to the config file on your local device. With this you will be
able to simply use ssh <unique-name> instead of ssh <username>@<IP-address> to connect to the servers:
$ nano ~/.ssh/config

Host swarm-manager
  HostName 37.27.34.249
  User root
  IdentityFile ~/.ssh/id_rsa_personal
  PreferredAuthentications publickey

Host db-worker
  HostName 95.217.128.149
  User root
  IdentityFile ~/.ssh/id_rsa_personal
  PreferredAuthentications publickey
Now you can connect to the server with ssh swarm-manager and verify that Docker is installed:
$ ssh swarm-manager
$ docker --version

>> Docker version 25.0.1, build 29cf629
Adding a firewall to both servers
Now, let’s create our firewall for the servers. We will create the firewall, add inbound rules, and then apply it to both servers.
# Create the firewall
$ hcloud firewall create --name app-firewall
> Firewall 1245331 created

# Add inbound rules
$ hcloud firewall add-rule 1245331 --direction in --port 22 --protocol tcp --source-ips 0.0.0.0/0
$ hcloud firewall add-rule 1245331 --direction in --port 80 --protocol tcp --source-ips 0.0.0.0/0

# Docker related ports for nodes communication and overlay networks
$ hcloud firewall add-rule 1245331 --direction in --port 2377 --protocol tcp --source-ips 0.0.0.0/0
$ hcloud firewall add-rule 1245331 --direction in --port 7946 --protocol tcp --source-ips 0.0.0.0/0
$ hcloud firewall add-rule 1245331 --direction in --port 4789 --protocol udp --source-ips 0.0.0.0/0
Notice that we don’t have to open the database port as the database server will only be accessible from the web server and Docker Swarm will handle the communication between the services.
Now we can apply the firewall to the servers by running the following commands:
$ hcloud firewall apply-to-resource 1245331 --server 43107995 --type server
$ hcloud firewall apply-to-resource 1245331 --server 43108038 --type server
Setting up the Docker Swarm cluster
We will start by initializing Swarm mode on the manager node and then join the worker node to the cluster.
$ ssh swarm-manager
$ docker swarm init --advertise-addr 37.27.34.249

> Swarm initialized: current node (xyivupj1vs8j972fb789t3n08) is now a manager.
> To add a worker to this swarm, run the following command:
  docker swarm join --token SWMTKN-1-2z9r0ypycjcxesjr7vlyf4nd248xp7h83dy7127miwoyydszct-a04m5zkf3f6hd3ueeoj513tby 37.27.34.249:2377
Before joining the worker node to the cluster, let’s assign a label to the manager node so we can control where the app container will be deployed. First, list the nodes to get the manager node ID and then assign the label to the manager node:
$ docker node ls
$ docker node update --label-add type=app xyivupj1vs8j972fb789t3n08
Now, we can join the worker node to the cluster:
$ ssh db-worker

$ docker swarm join --token SWMTKN-1-2z9r0ypycjcxesjr7vlyf4nd248xp7h83dy7127miwoyydszct-a04m5zkf3f6hd3ueeoj513tby 37.27.34.249:2377

> This node joined a swarm as a worker.
Assign a label to the worker node as well by going back to the manager node, list the nodes so you can get the worker node ID and then assign the label to the worker node:
$ ssh swarm-manager
$ docker node ls
$ docker node update --label-add type=database wqb9dnx6otanxoc529qfwblvq
Deploying the Rails app to the cluster
Since Rails 7.1, the rails new command generates a Dockerfile tuned for production use with proper
caching layers and multi-stage building. We will use this file to build the image that will
be used by the web service in the stack.
We will use a docker-stack.yml file to define the services and deploy the app to the cluster. Create the file
in the root of the Rails app and add the following content:
version: '3.7'

services:
  web:
    image: <dockerhub_username>/swarm-demo:prod
    depends_on:
      - database
    ports:
      - 80:3000
    environment:
      - RAILS_MASTER_KEY=c51c56d33c031224c4678f44dd7eafa0
      - POSTGRES_USER=swarm_demo
      - POSTGRES_PASSWORD=production-secure-password
    deploy:
      placement:
        constraints:
          - node.labels.type == app

  database:
    image: postgres:15
    environment:
      - POSTGRES_USER=swarm_demo
      - POSTGRES_PASSWORD=production-secure-password
    volumes:
      - db_data:/var/lib/postgresql/data
    ports:
      - 5432:5432
    deploy:
      placement:
        constraints:
          - node.labels.type == database

volumes:
  db_data:
Make sure to replace
RAILS_MASTER_KEYwith the content ofconfig/master.key. Also, this is for demonstration purposes only, make sure not to expose sensitive information in yourdocker-stack.ymlfile.
In config/database.yml we need to set the host to database as it is the name of the service in the stack. Also,
we need to set the username and password to the environment variables referenced in the docker-stack.yml file:
production:
  <<: *default
  database: swarm_demo_production
  host: database
  username: <%= ENV["POSTGRES_USER"] %>
  password: <%= ENV["POSTGRES_PASSWORD"] %>
Starting from
Rails 7.1ssl is enforced by default, so we need to set theconfig.force_ssl = falsein theconfig/environments/production.rbfile.
Build x86 images on m1 mac:
$ docker buildx build --platform=linux/amd64 -f Dockerfile -t <dockerhub_username>/swarm-demo:prod .
Upload image to registry:
$ docker push <dockerhub_username>/swarm-demo:prod
Now, we are ready to deploy the app to the cluster by creating a Docker Context for the manager node, switching to it, and then
running the docker stack deploy command:
$ docker context create swarm-demo --docker host=ssh://swarm-manager
$ docker context use swarm-demo
$ docker stack deploy -c docker-stack.yml swarm-demo

> Creating network swarm-demo_default
> Creating service swarm-demo_database
> Creating service swarm-demo_web
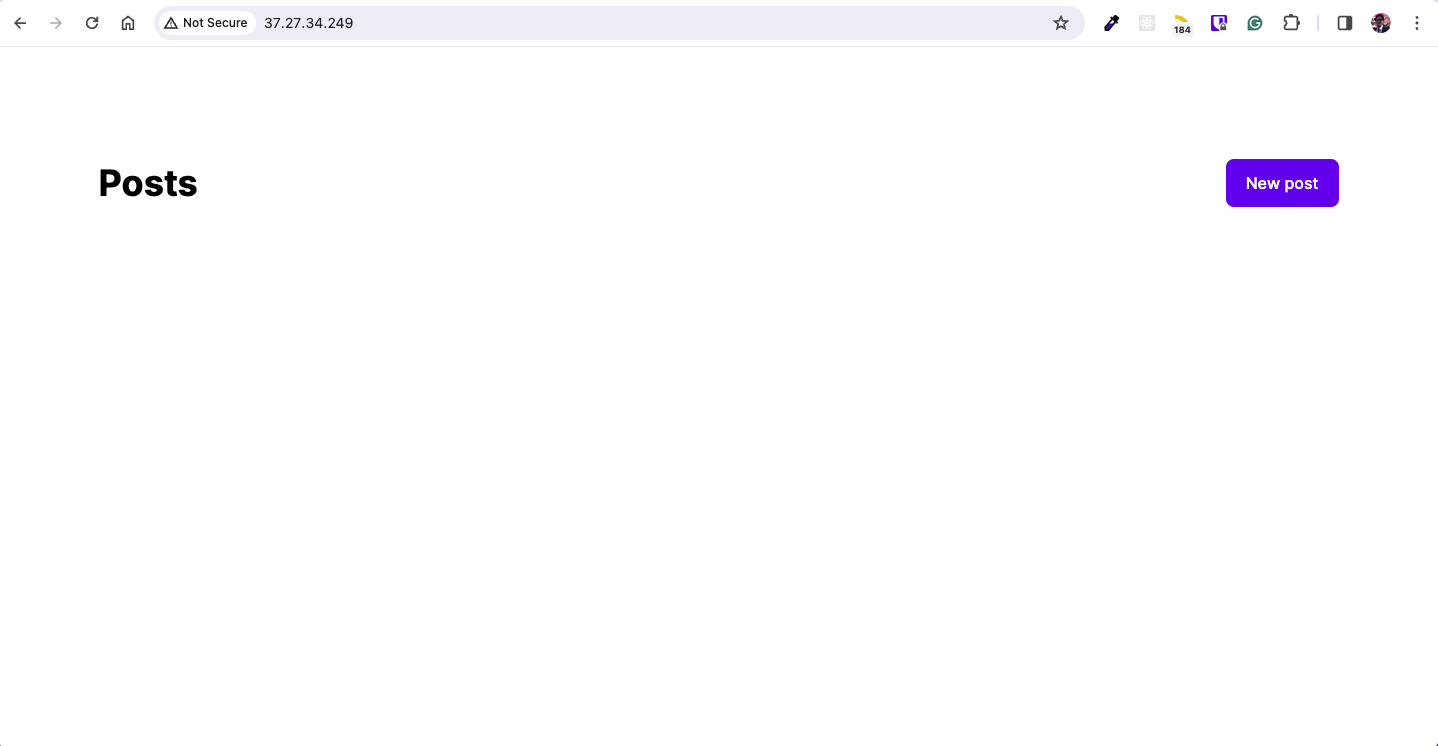
Now, you should be able to access the Rails app by visiting the IP address of the manager node in your browser:
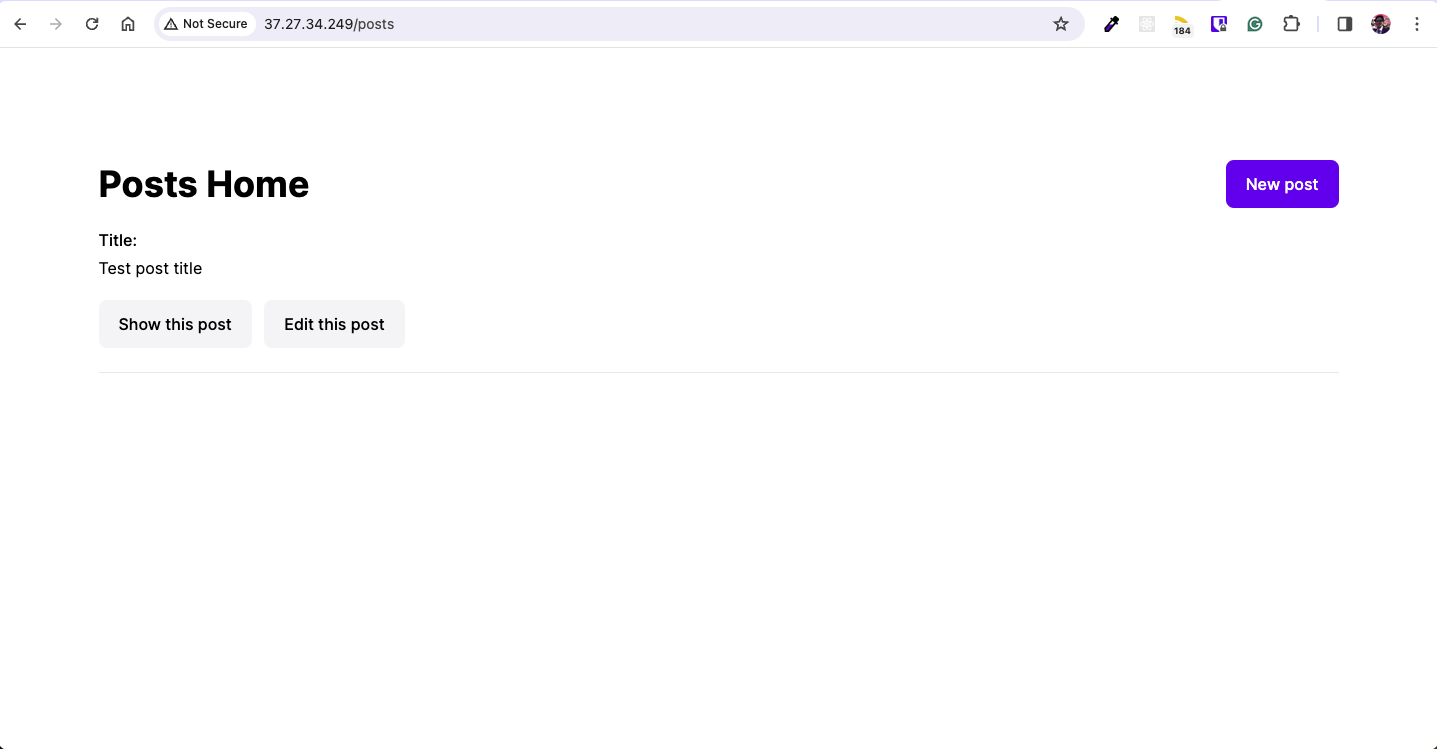
To make shure the database is working, create a new post and verify that it persists after modifying the page’s header, rebuilding the image and redeploying the stack:
$ docker buildx build --platform=linux/amd64 -f Dockerfile -t <dockerhub_username>/swarm-demo:prod .
$ docker push <dockerhub_username>/swarm-demo:prod
$ docker stack deploy -c docker-stack.yml swarm-demo
I hope this post was helpful and that you were able to deploy your Rails app to a Docker Swarm cluster on Hetzner. If you have any questions or suggestions, feel free to reach out to me on Twitter.